Electrics was something completely new for me so the following information is basic and raw. Luckily my brother has a lot of experience in this area and got me up to speed pretty quickly. I did the electrics in two separate sections that are independent to each other. One battery for the Minn Kota and the other battery for everything else. I will cover the Minn Kota install in its own post soon.
What I wanted
- An isolation switch to turn off the electrics. This is to ensure there is no current leaking into the boat. My understanding is this cause electrolysis that will pretty quickly destroy an aluminium boat.
- Bilge pump as the flooring installation made this essential for the boat to be legal on the water
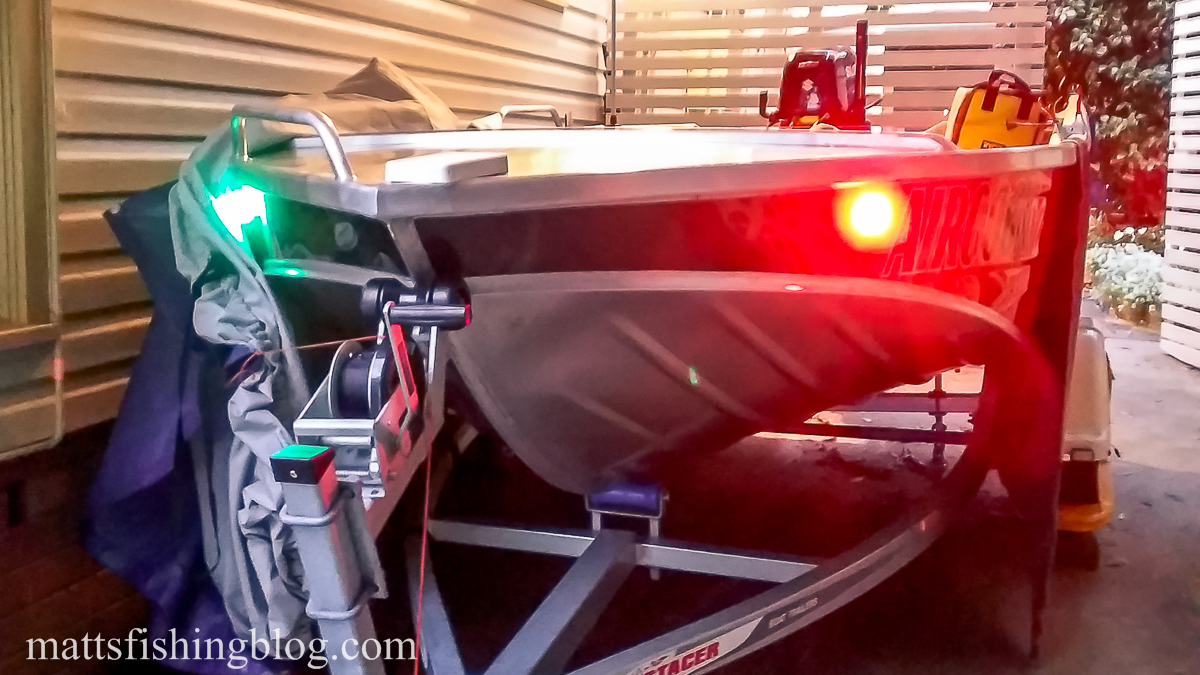
- Navigation lights and All-Round-Light for night boating
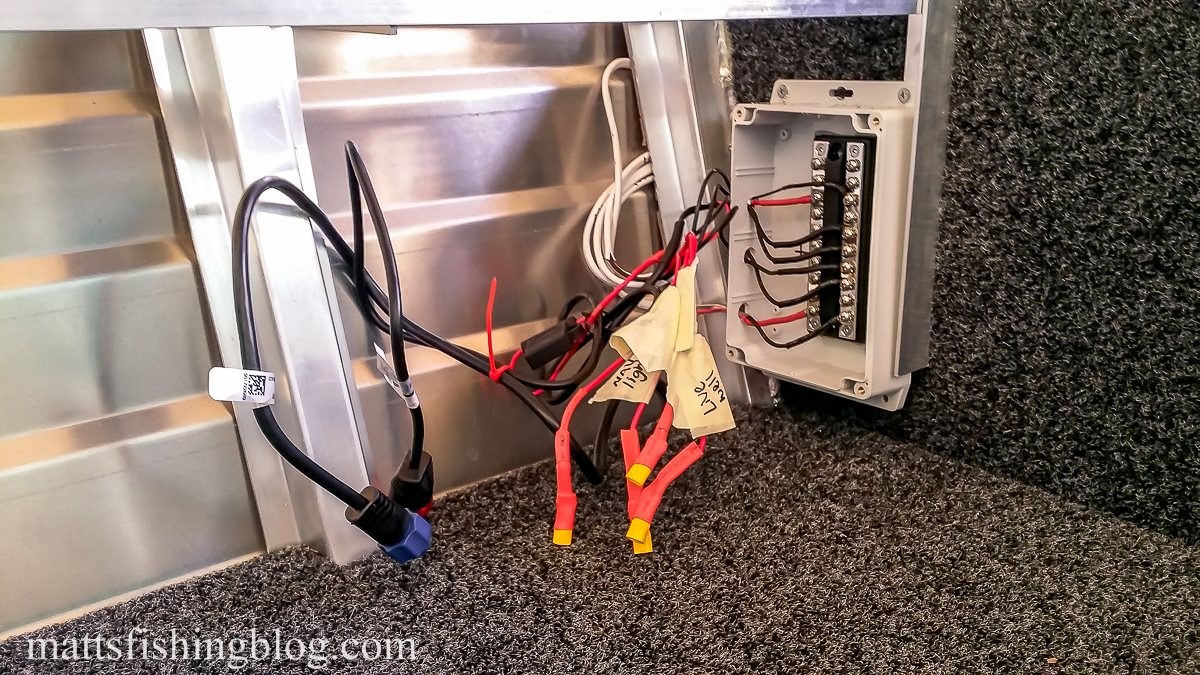
- Live well
- Sounder – I will also cover the details of this installation in a future post
- 12V outlet for plugging in a portable light or anything else 12V.
What I used:
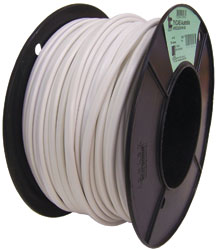
Wire: Tinned copper 4mm twin sheath white 15amp electrical cable.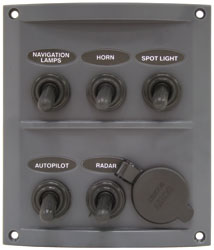
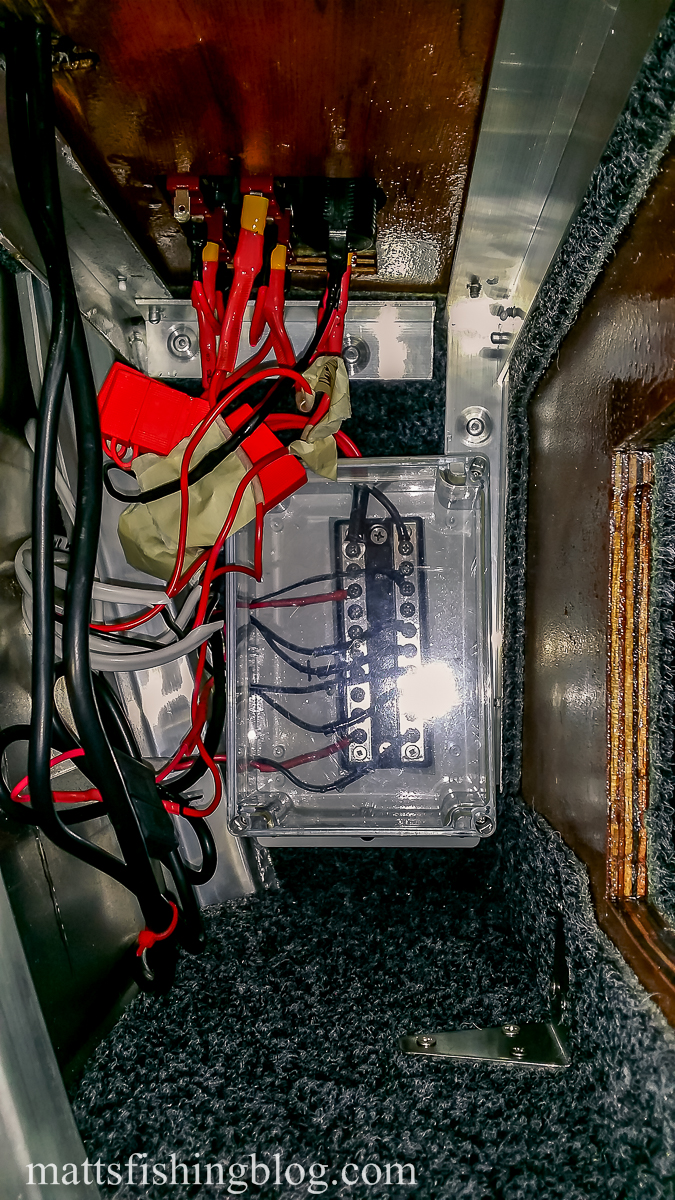
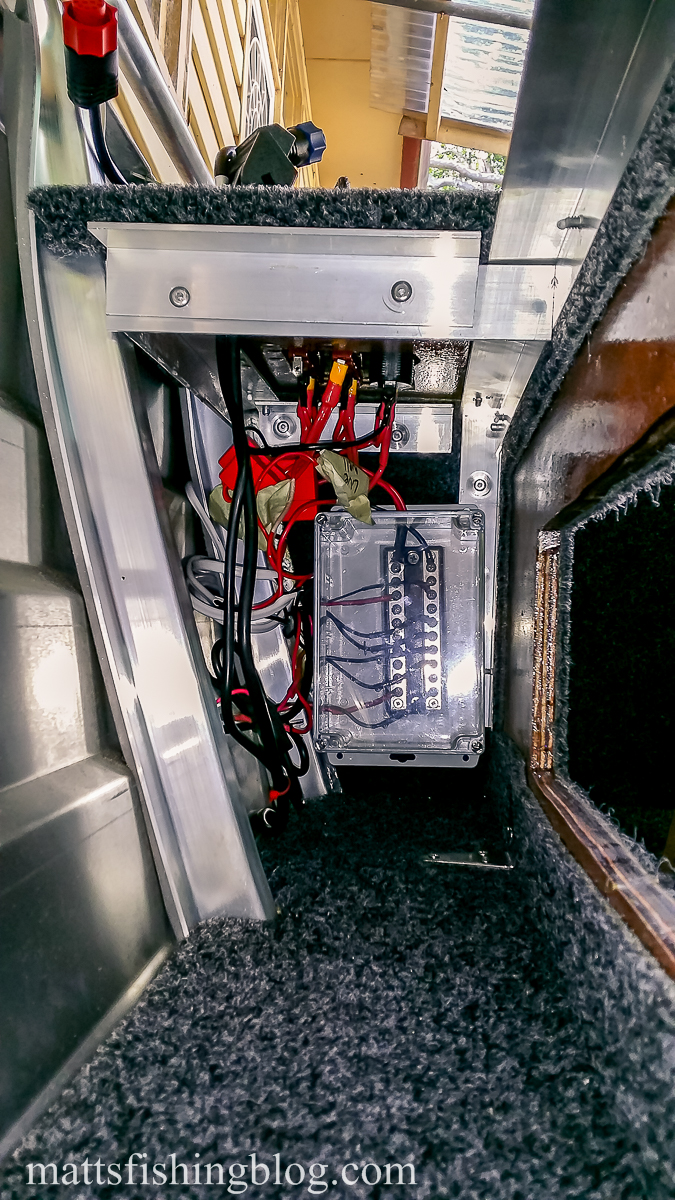
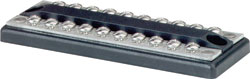
Bus Bar: Blue sea dual bus bar, 100 amp, 10 terminal. This has left me extra space if I want to add to it later.
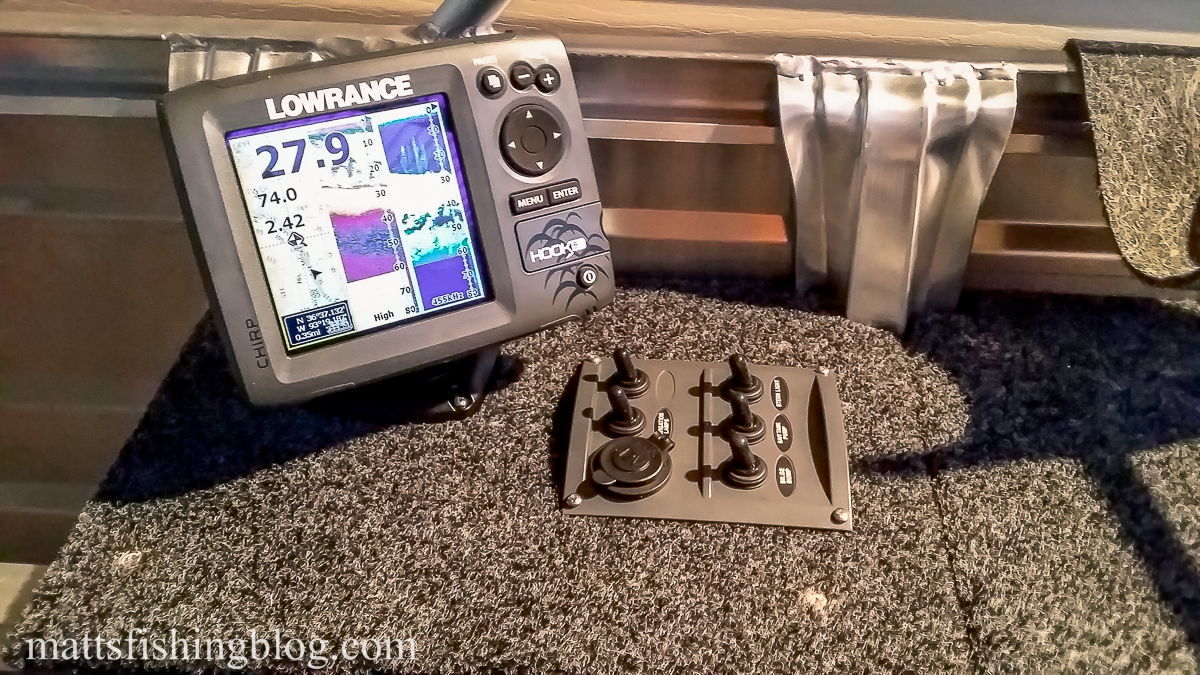
Switches: splashproof 5 way panel with Cig socket. These seem pretty good to me. They have a nice solid feel to them when turning on/off, splashproof, and have built in fuses. I currently have one spare switch. The Cig socket is perfect for a light I have.
Bilge: Rule-mate 500 automatic bilge pump (1893 Litres/hr). Fully automatic submersible bilge pump with a three wire set-up that allows both automatic mode and the 3rd wire allows for manual over-ride from the switch panel.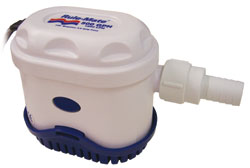
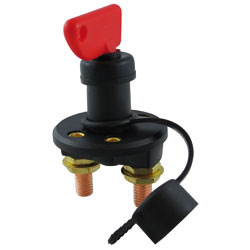
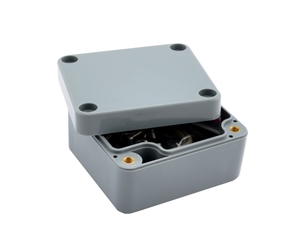
Isolation switch: Simple battery security switch with key and cap. These are cheap and have the advantage of only allowing the key to be removed if it is in the off position. So I know if the key is out then everything is off. I put this into a sealed ABS enclosure box.
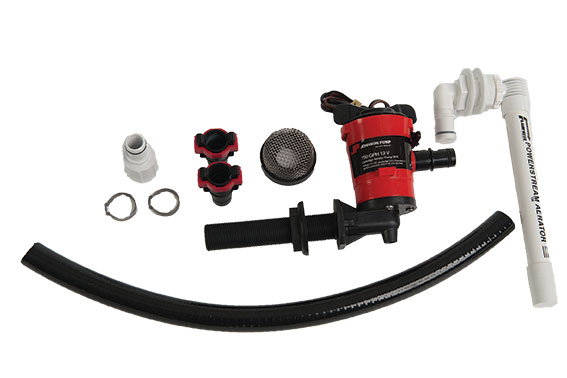
Livewell pump: Flow-Rite Bait Tank Kit Including Johnson Pump. Great kit, easy to use, scary drilling holes through the hull. More about this in a later post.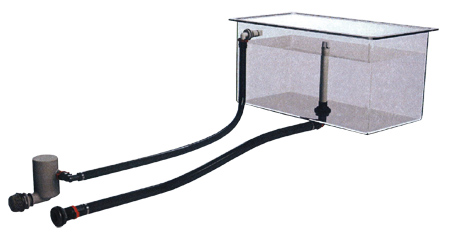
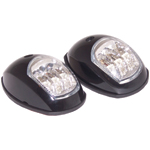
Navigation Lights: LED Port & Starboard Navigation Lights – Black
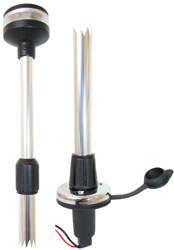
All round light: LED Telescopic 360° Light 600mm – 1.2m
Sounder: Lowrance HOOK-5 Fishfinder/Chartplotter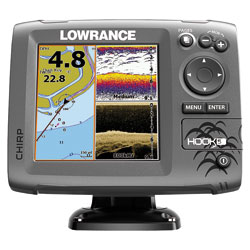
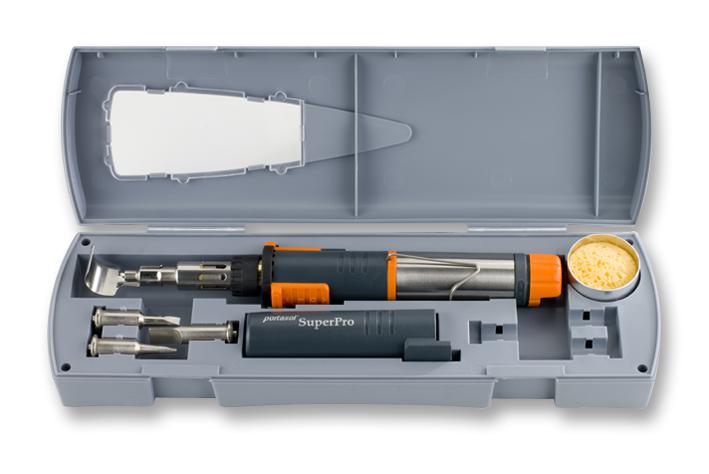
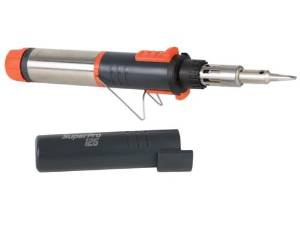
Soldering Iron: PORTASOL SP-1K KIT, SOLDERING IRON, 1300 DEG, GAS. Soldering tool with hot air blower and deflector, hot knife and cleaning sponge. Probably the best tip I was given by my brother was to buy one of these. They are a bit pricy but for outdoor work the heat control you get is awesome. The built in hot air blower is fantastic for heat shrink.
Heat shrink: Standard heat shrink everywhere it was needed.
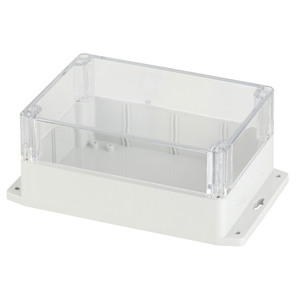
Sealed ABS Enclosures: I used these for the bus bar and the isolation switch. The larger one for the bas bar has a clear front on it so I can see what’s going on inside.
All these products were purchased from either Whitworths or Jaycar.
Process:
 Being an absolute novice at electrics I really can’t comment too much on how to solder other than to say I was taught well, I did what I was taught and it was much easier than I was expecting (probably because I was taught well, thanks Ben!). I found this whole process one of the most satisfying of the Tinny Pimp and the new skills are really great to have knowing I can fix simple things that need it.
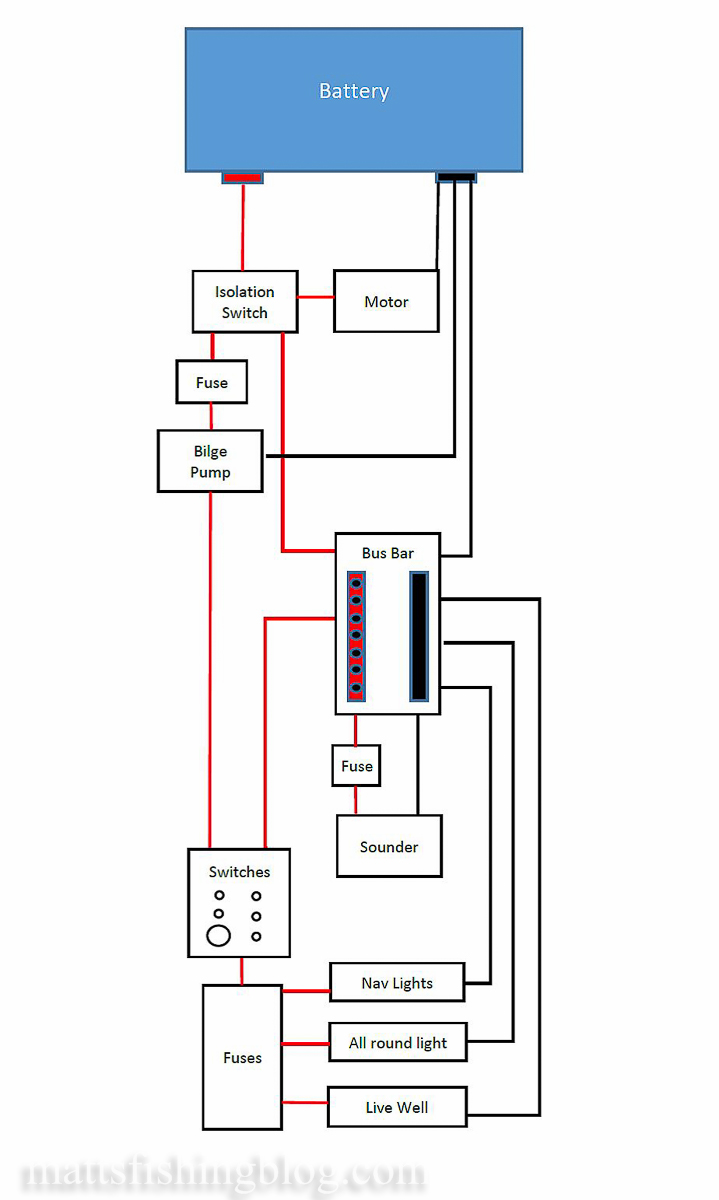
Here is a basic drawing of my wiring layout. Again apologies for the non-technical nature of this drawing, hopefully it will give you an idea of the set-up.
In the end I am supper happy with the set-up. Everything works well, is where I want it, is neat, and I can add to the system in the future.
Cheers
Matt


You must be logged in to post a comment.